

Halloween is just around the corner, and what better way to get into the spooky spirit than with some fun and creative DIY decorations? If you're looking for a project that's both cute and eerie, we've got just the thing for you: a Halloween Cat Box made out of our BAZIC foam board. This simple and affordable craft will add a touch of whimsy to your Halloween decor and is sure to be a hit with kids and adults alike. Follow along as we guide you through the steps to create your very own purr-fect cat box.
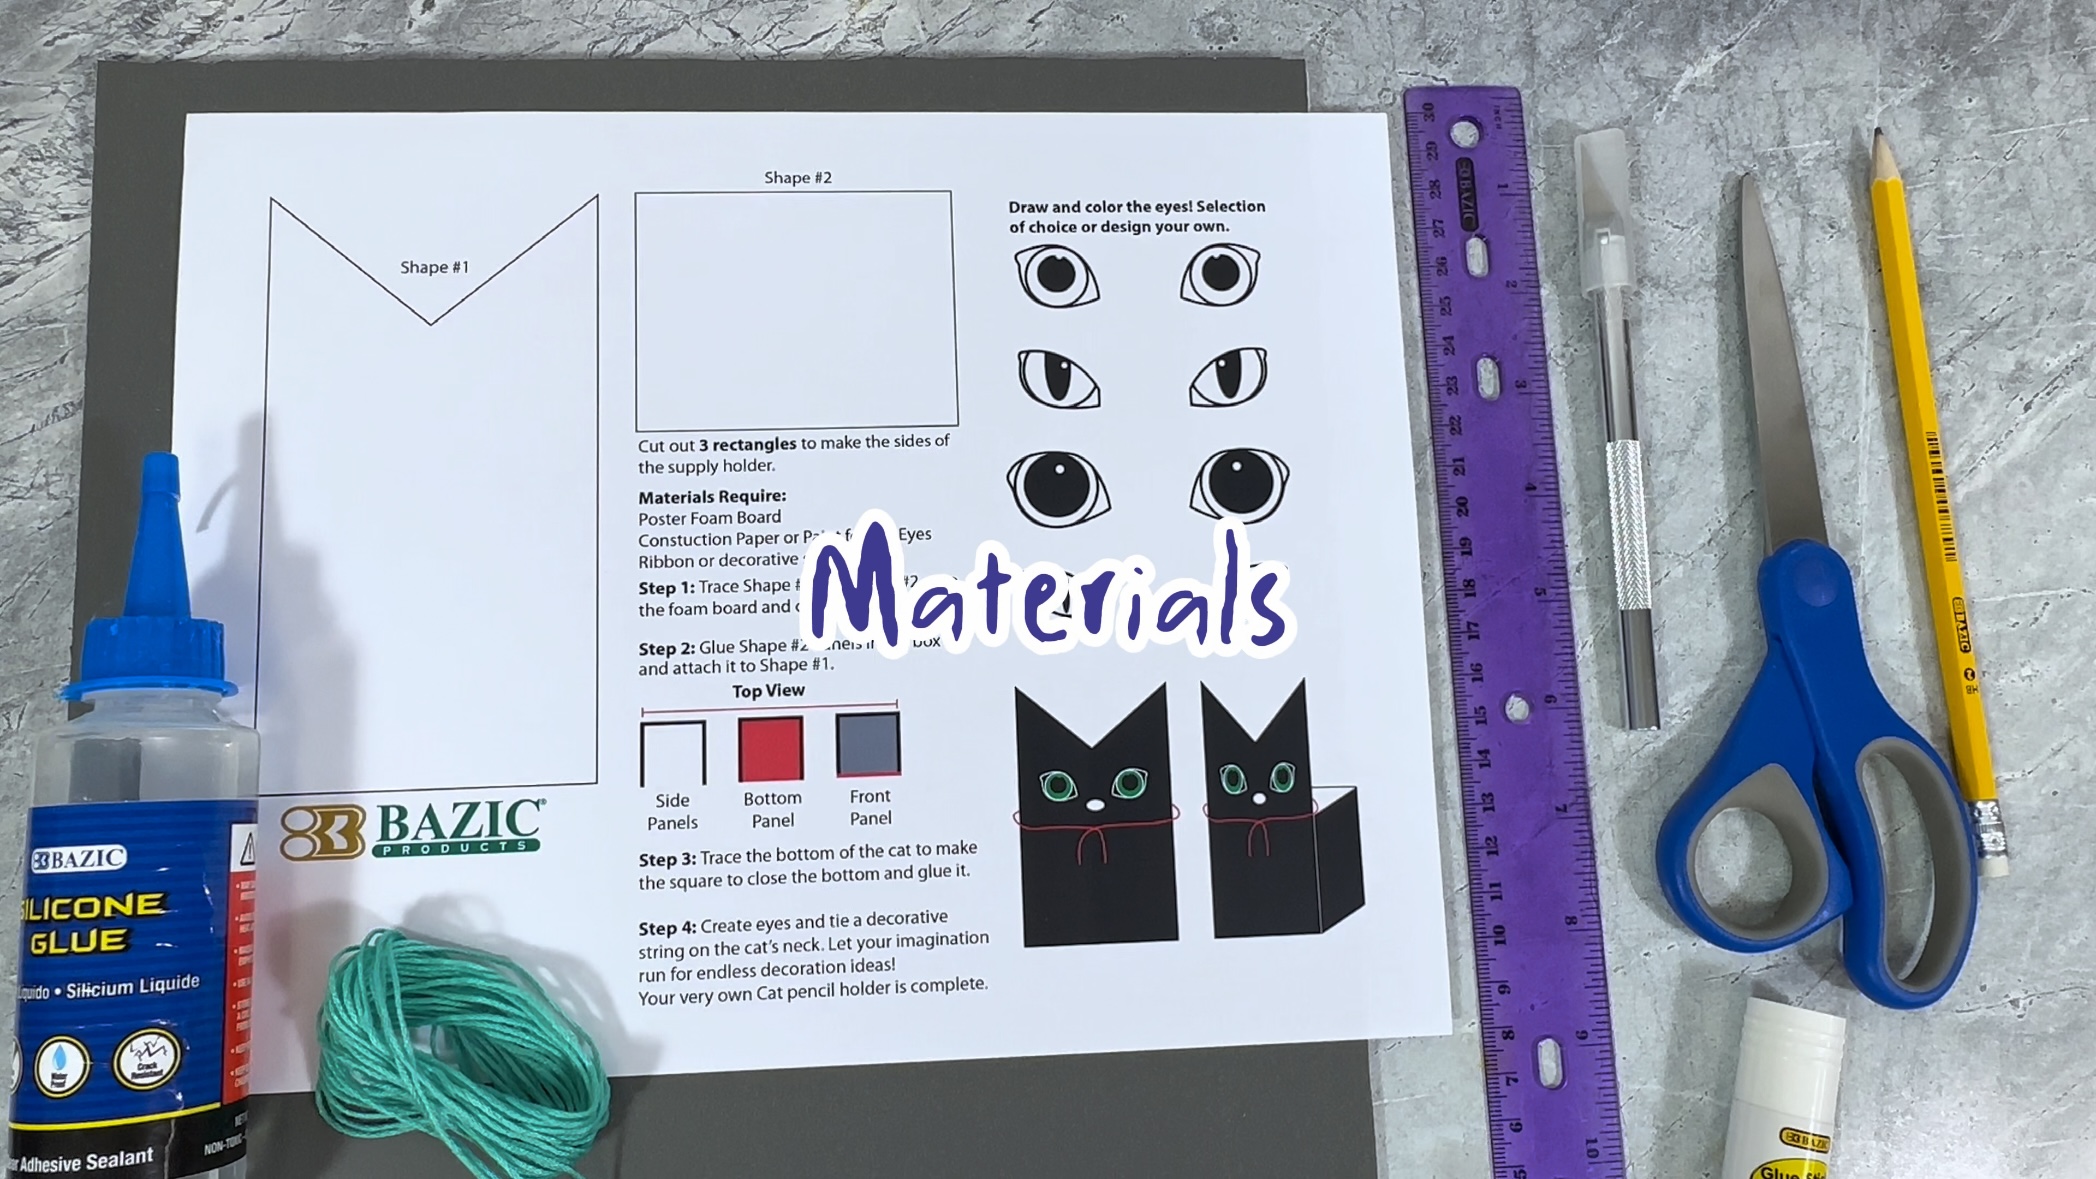
Materials you will need:
- Foam Board
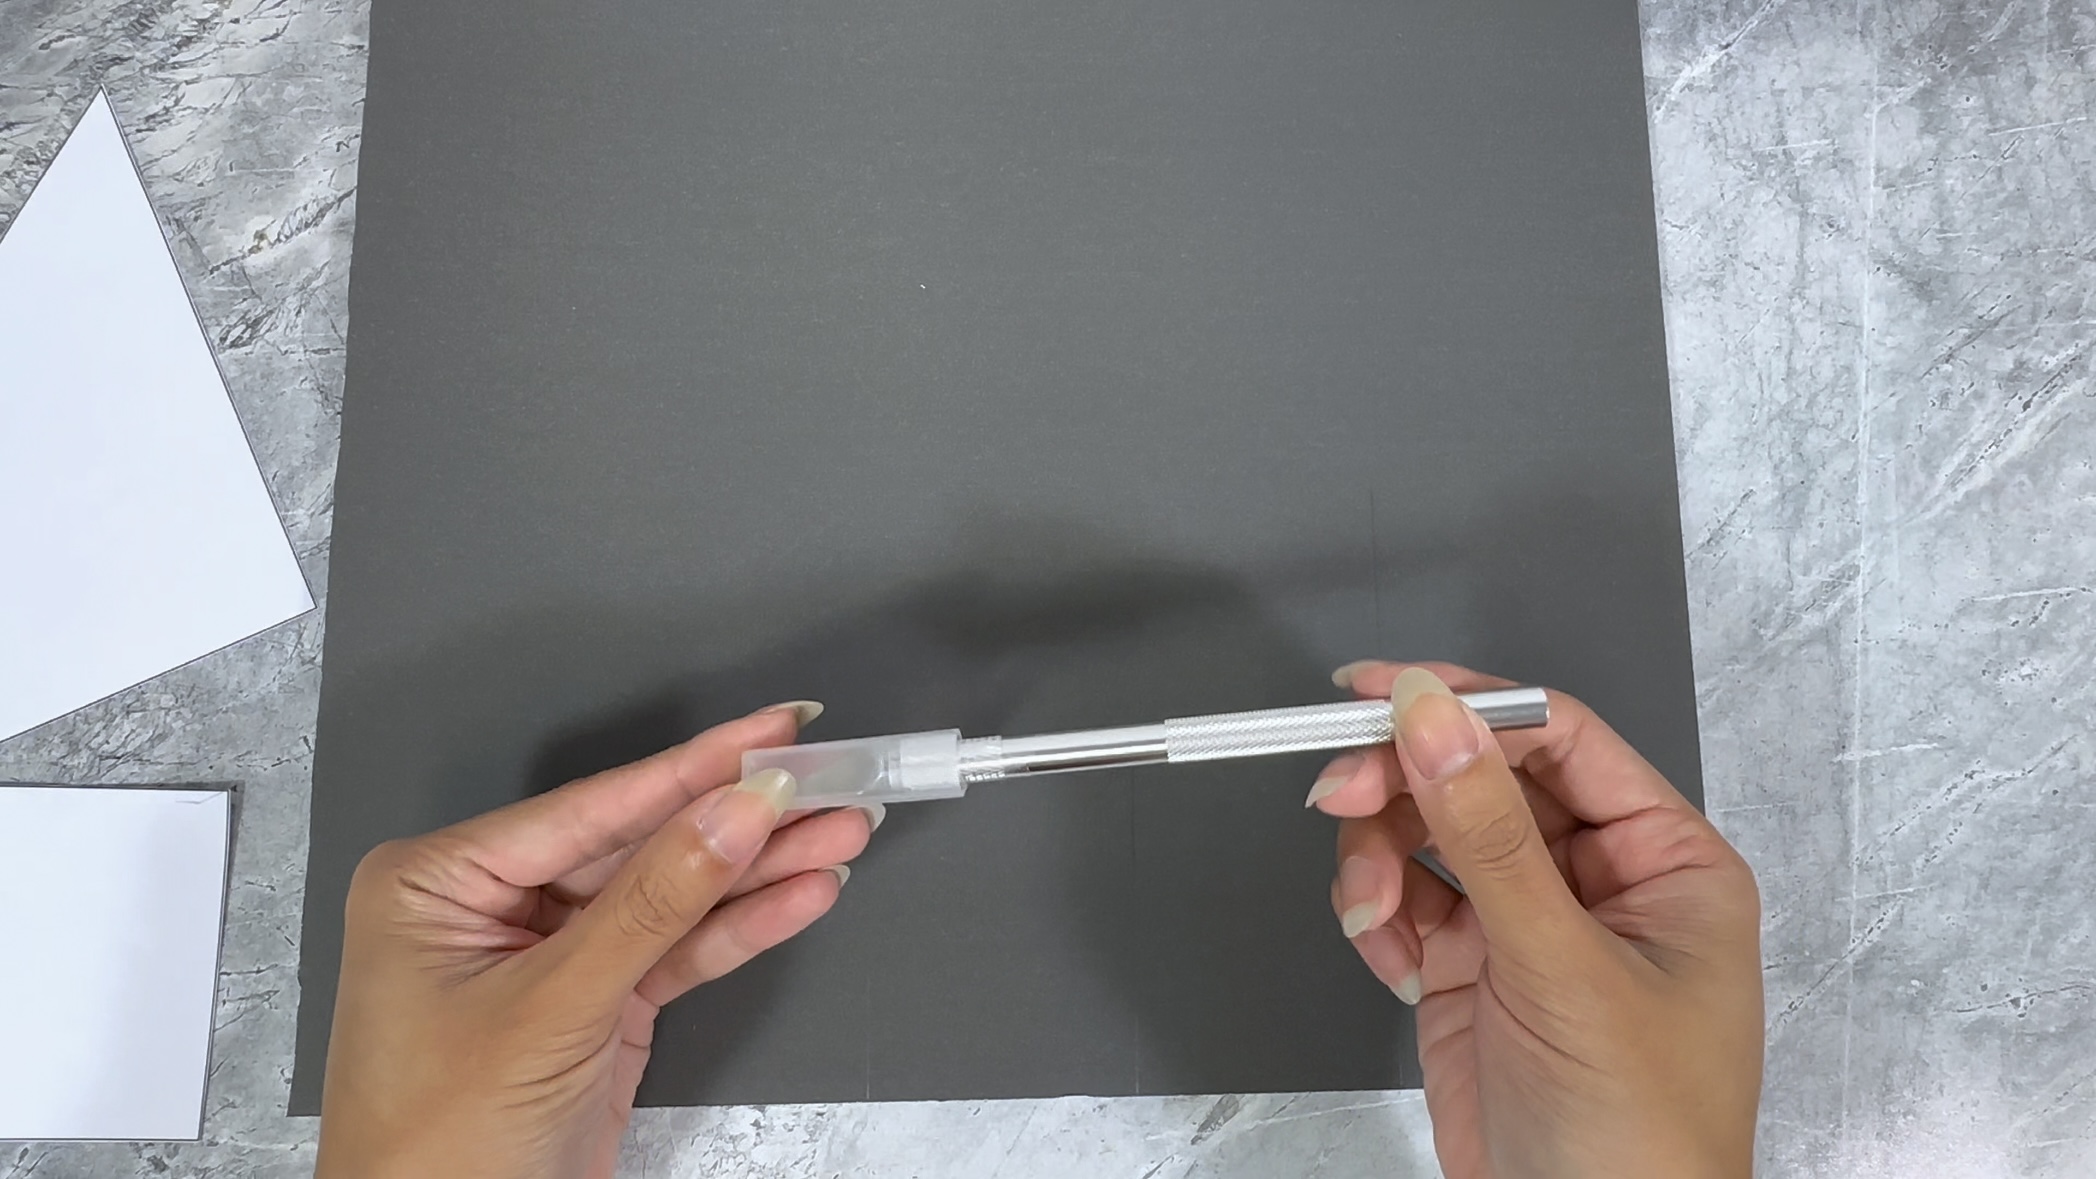
- Scissors / Precision Knife
- Pencil / Pen
- Adhesive
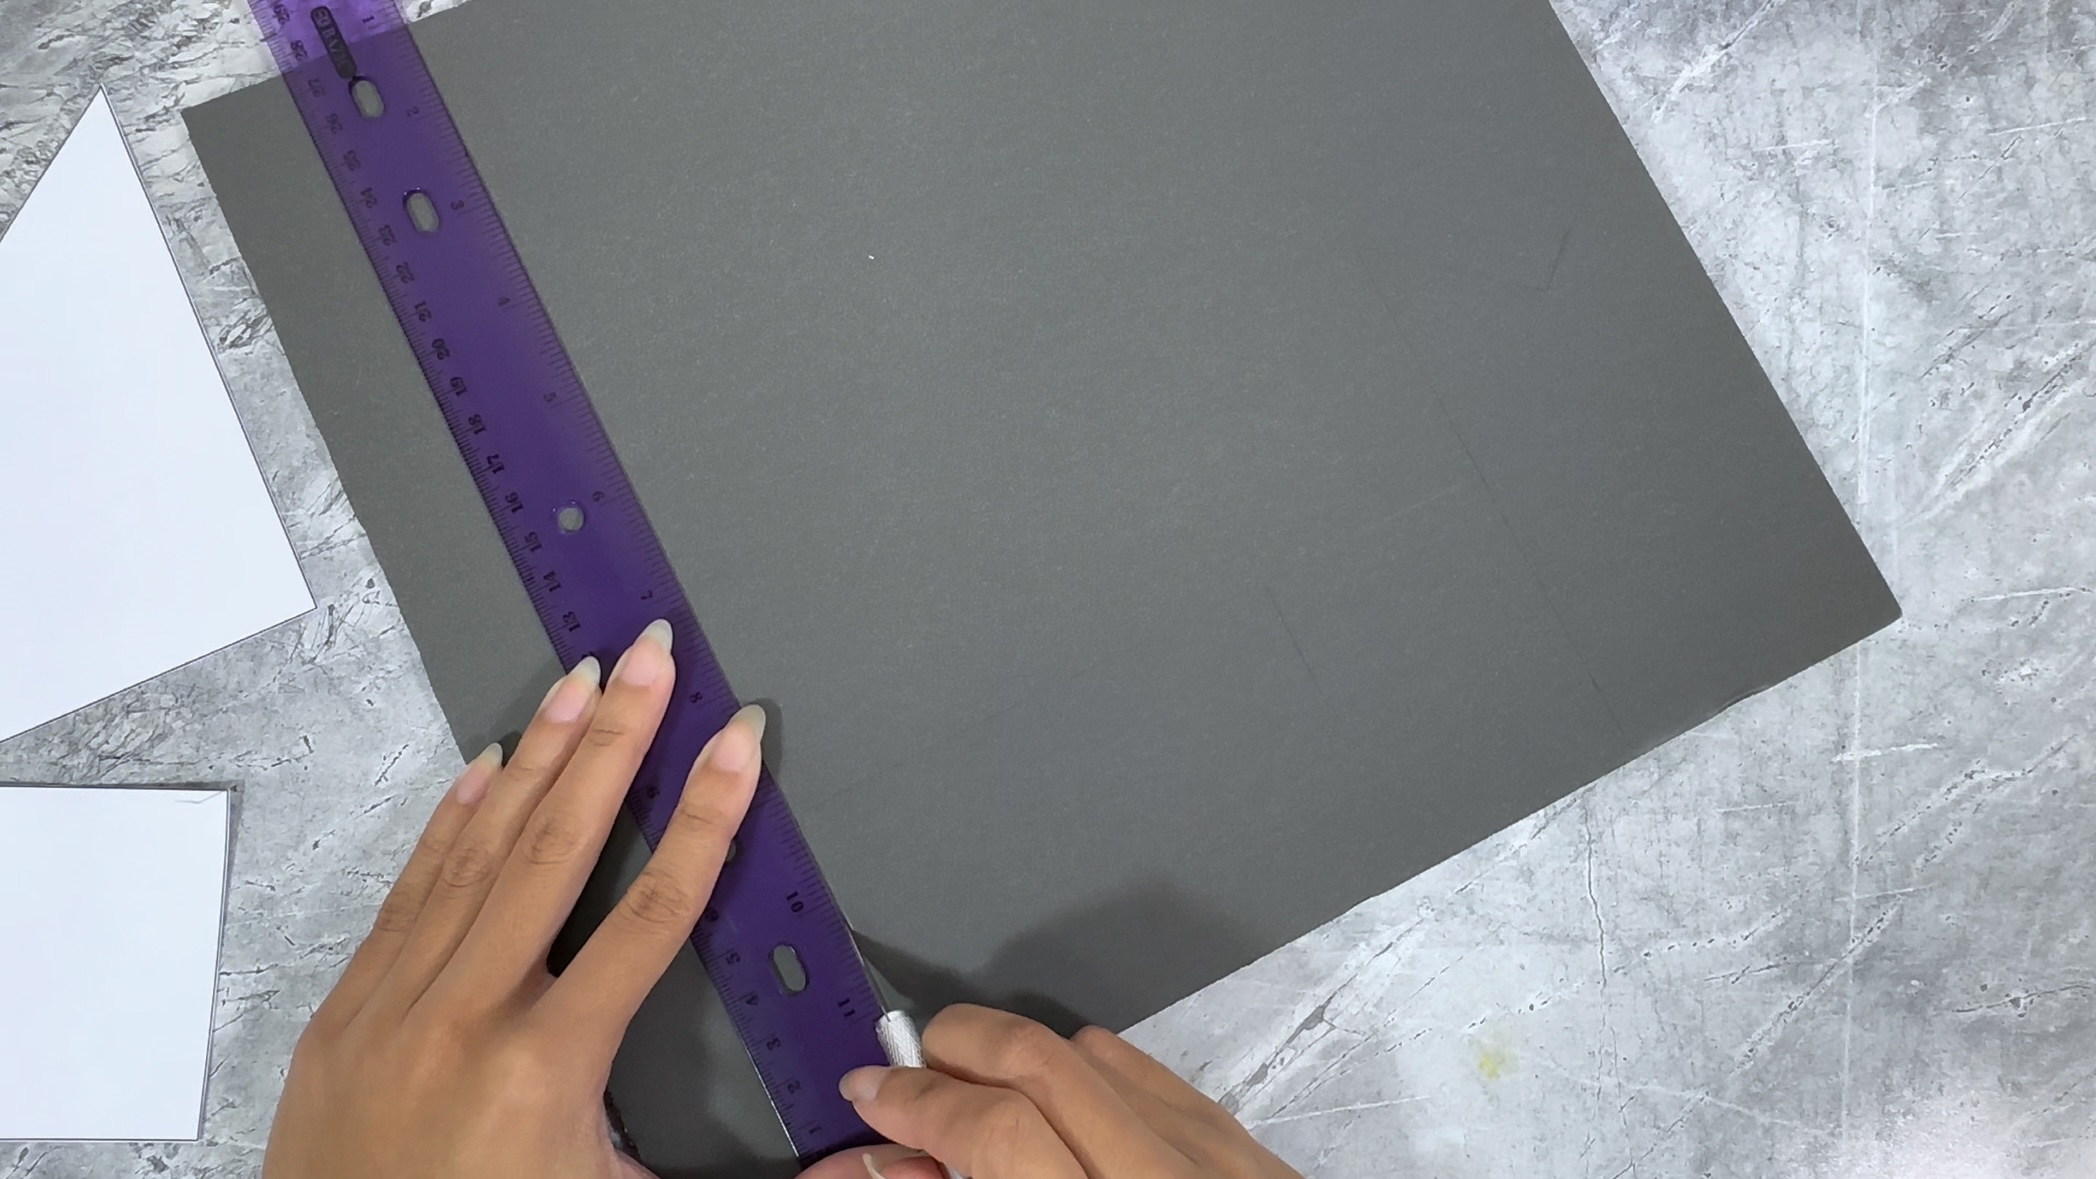
- Ruler
- Markers / Coloring materials
- Ribbon / decorative string
Watch our step-by-step tutorial to create your Halloween Cat Box DIY:
Step 1: Gather materials
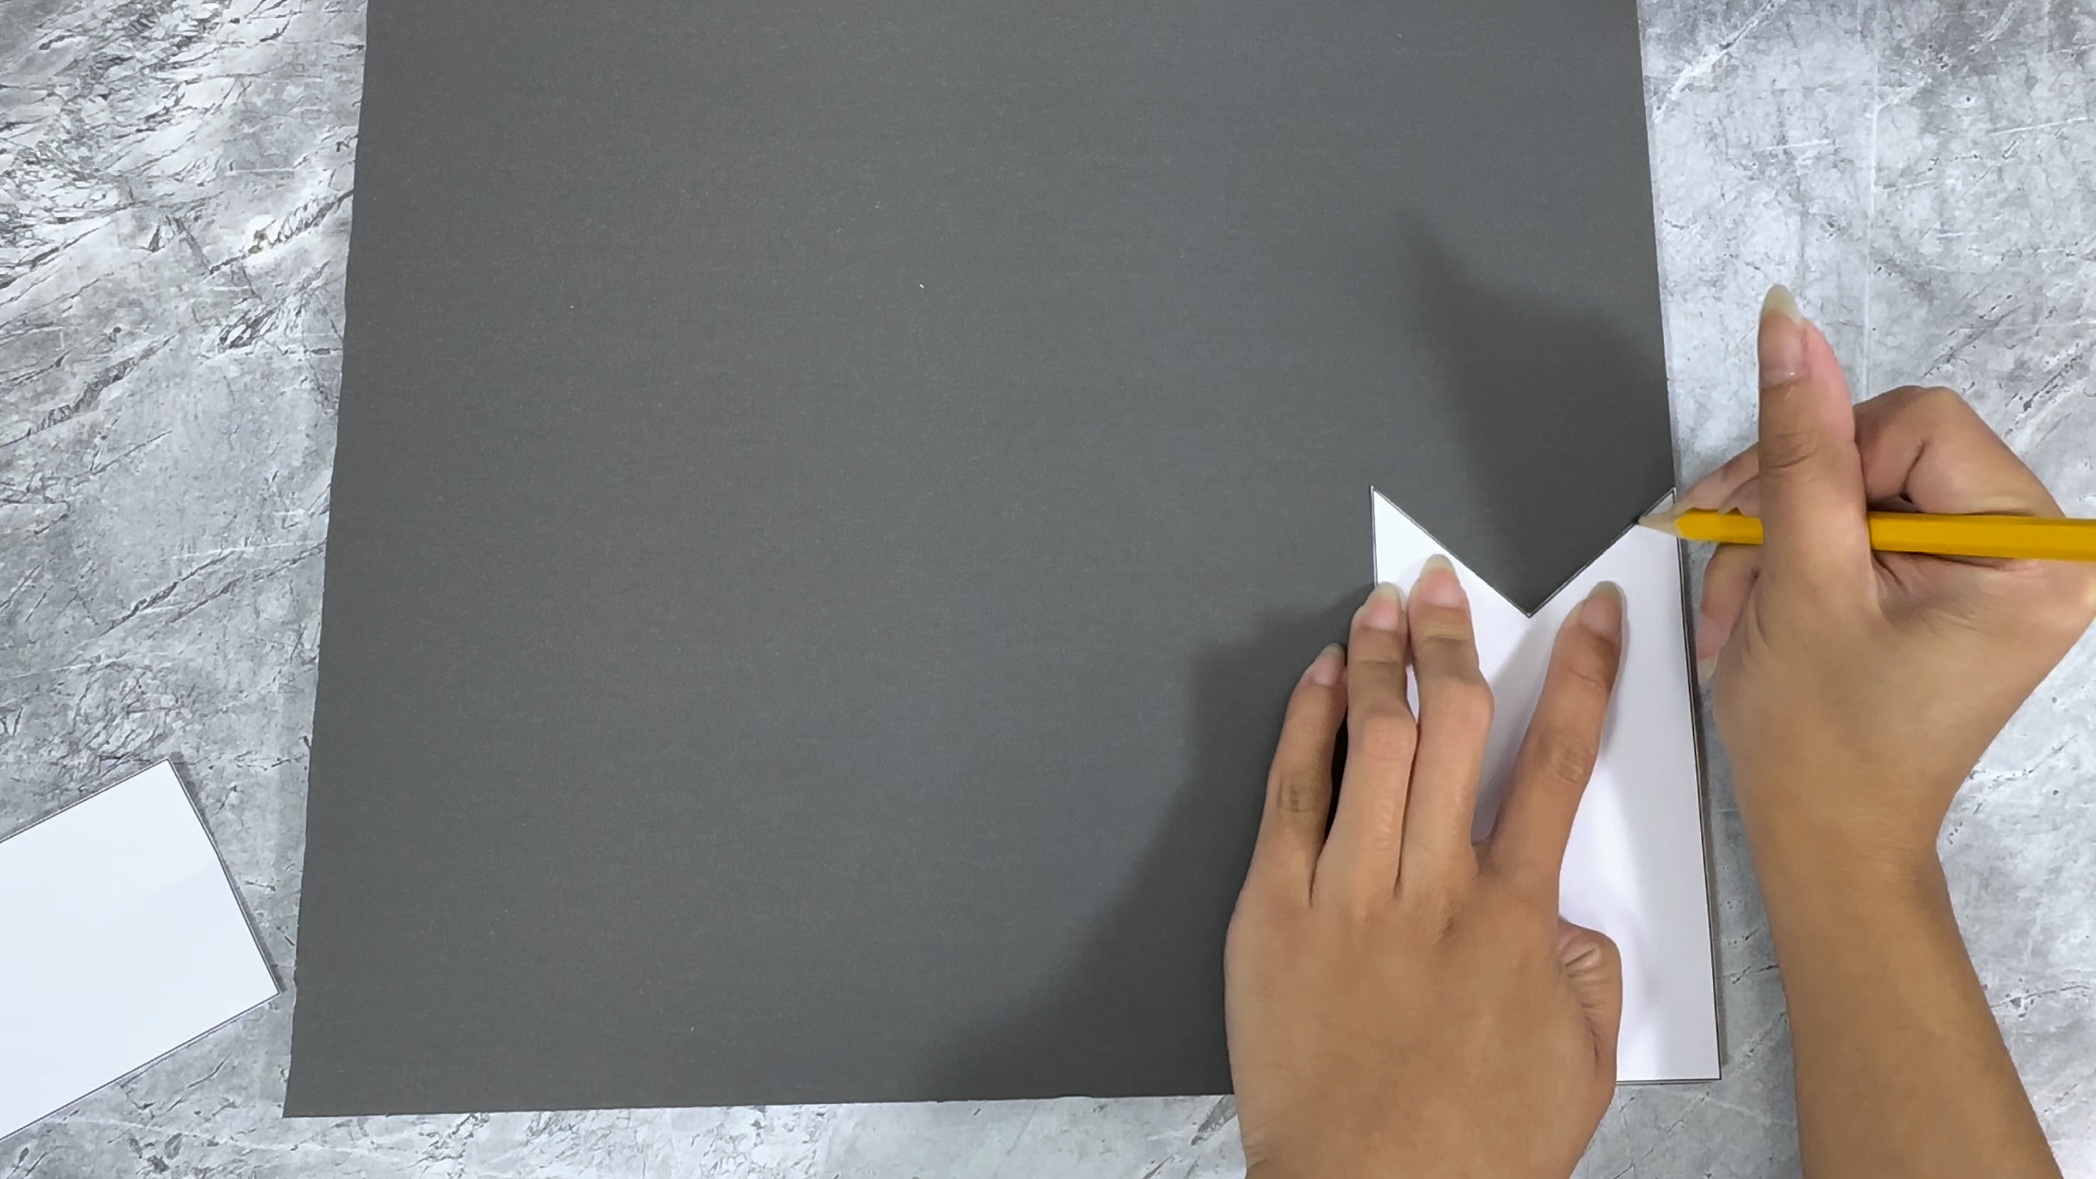
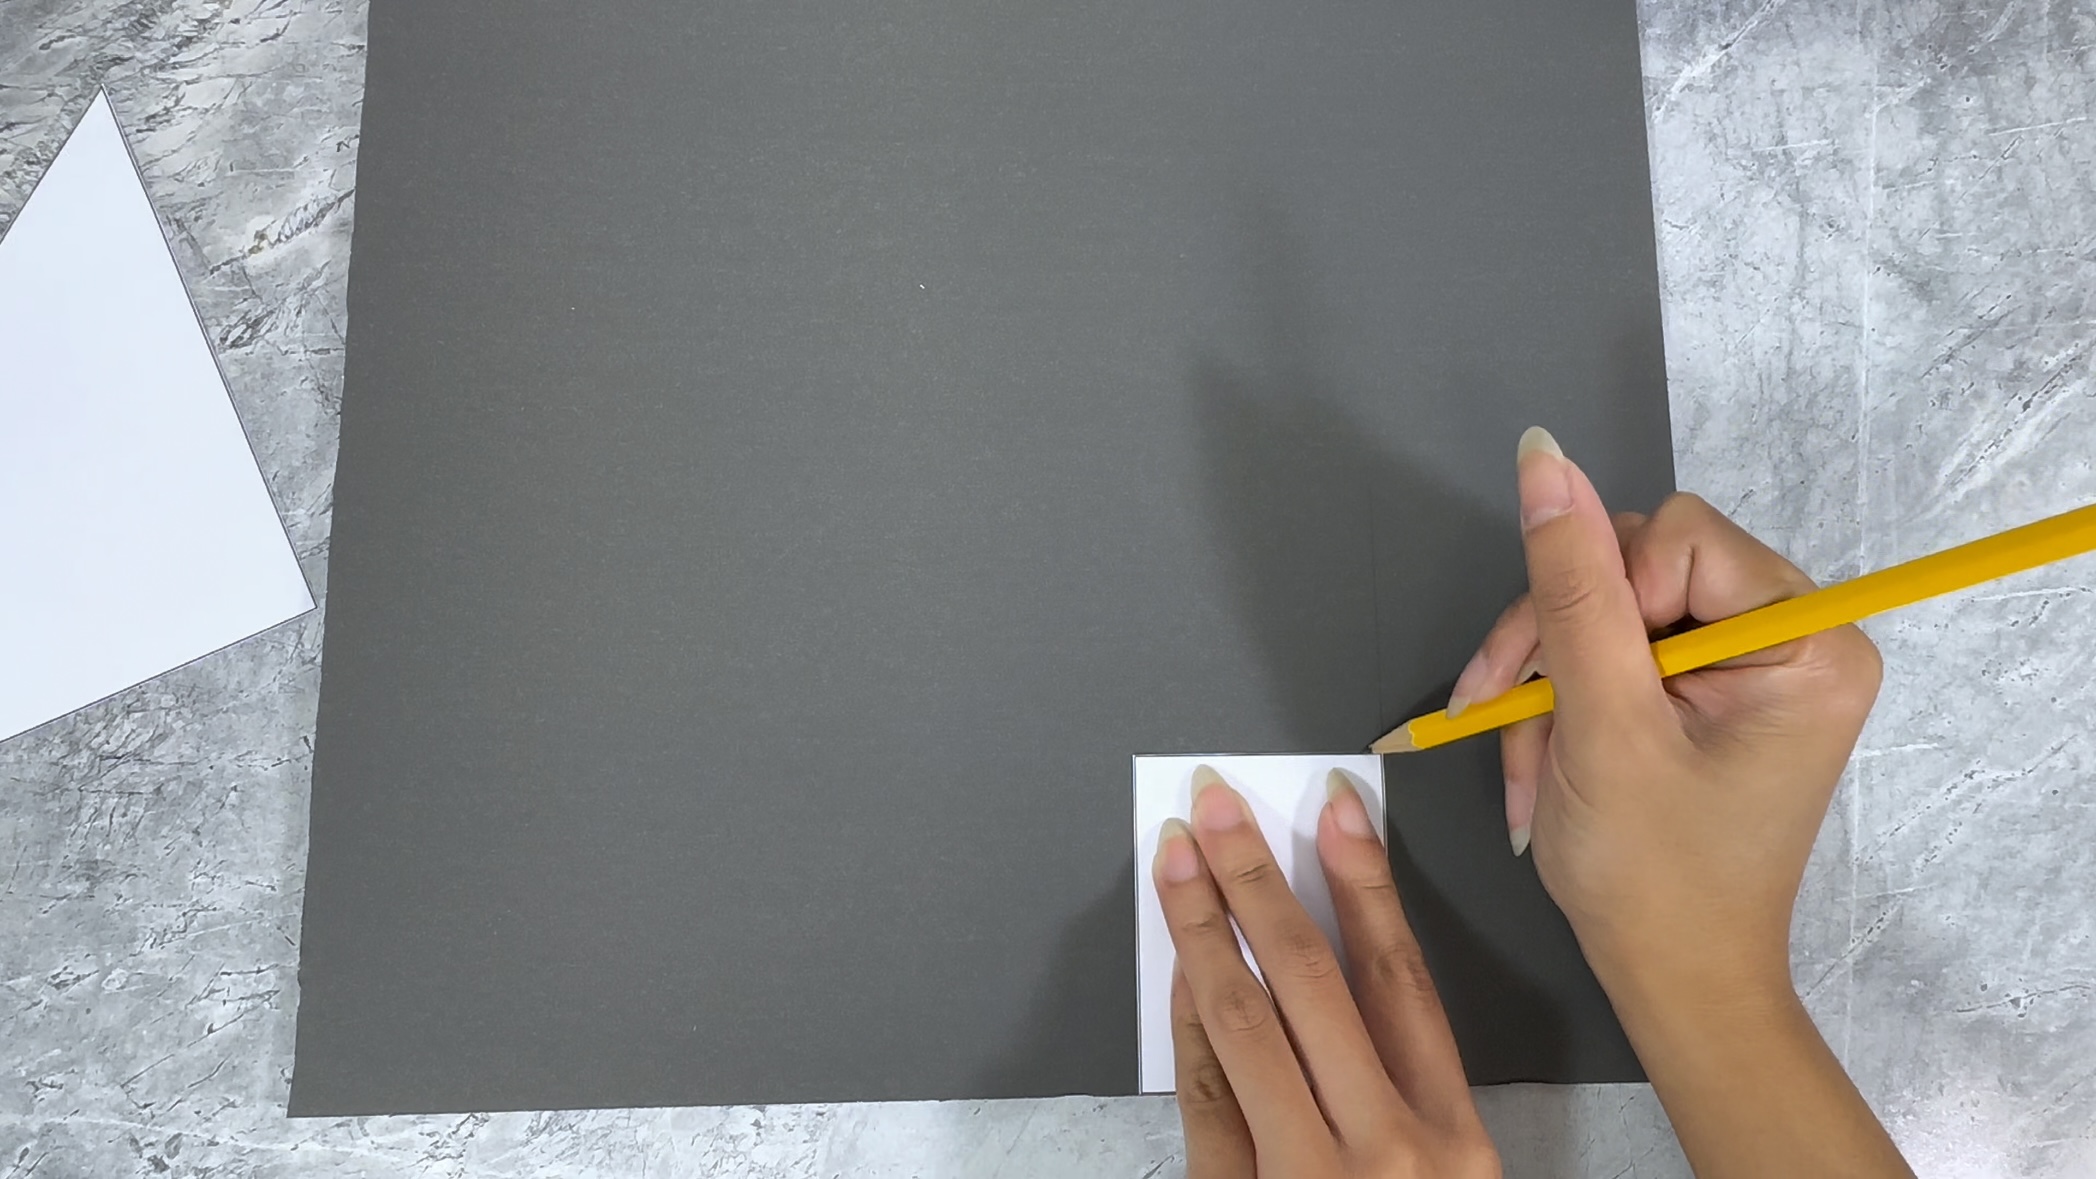
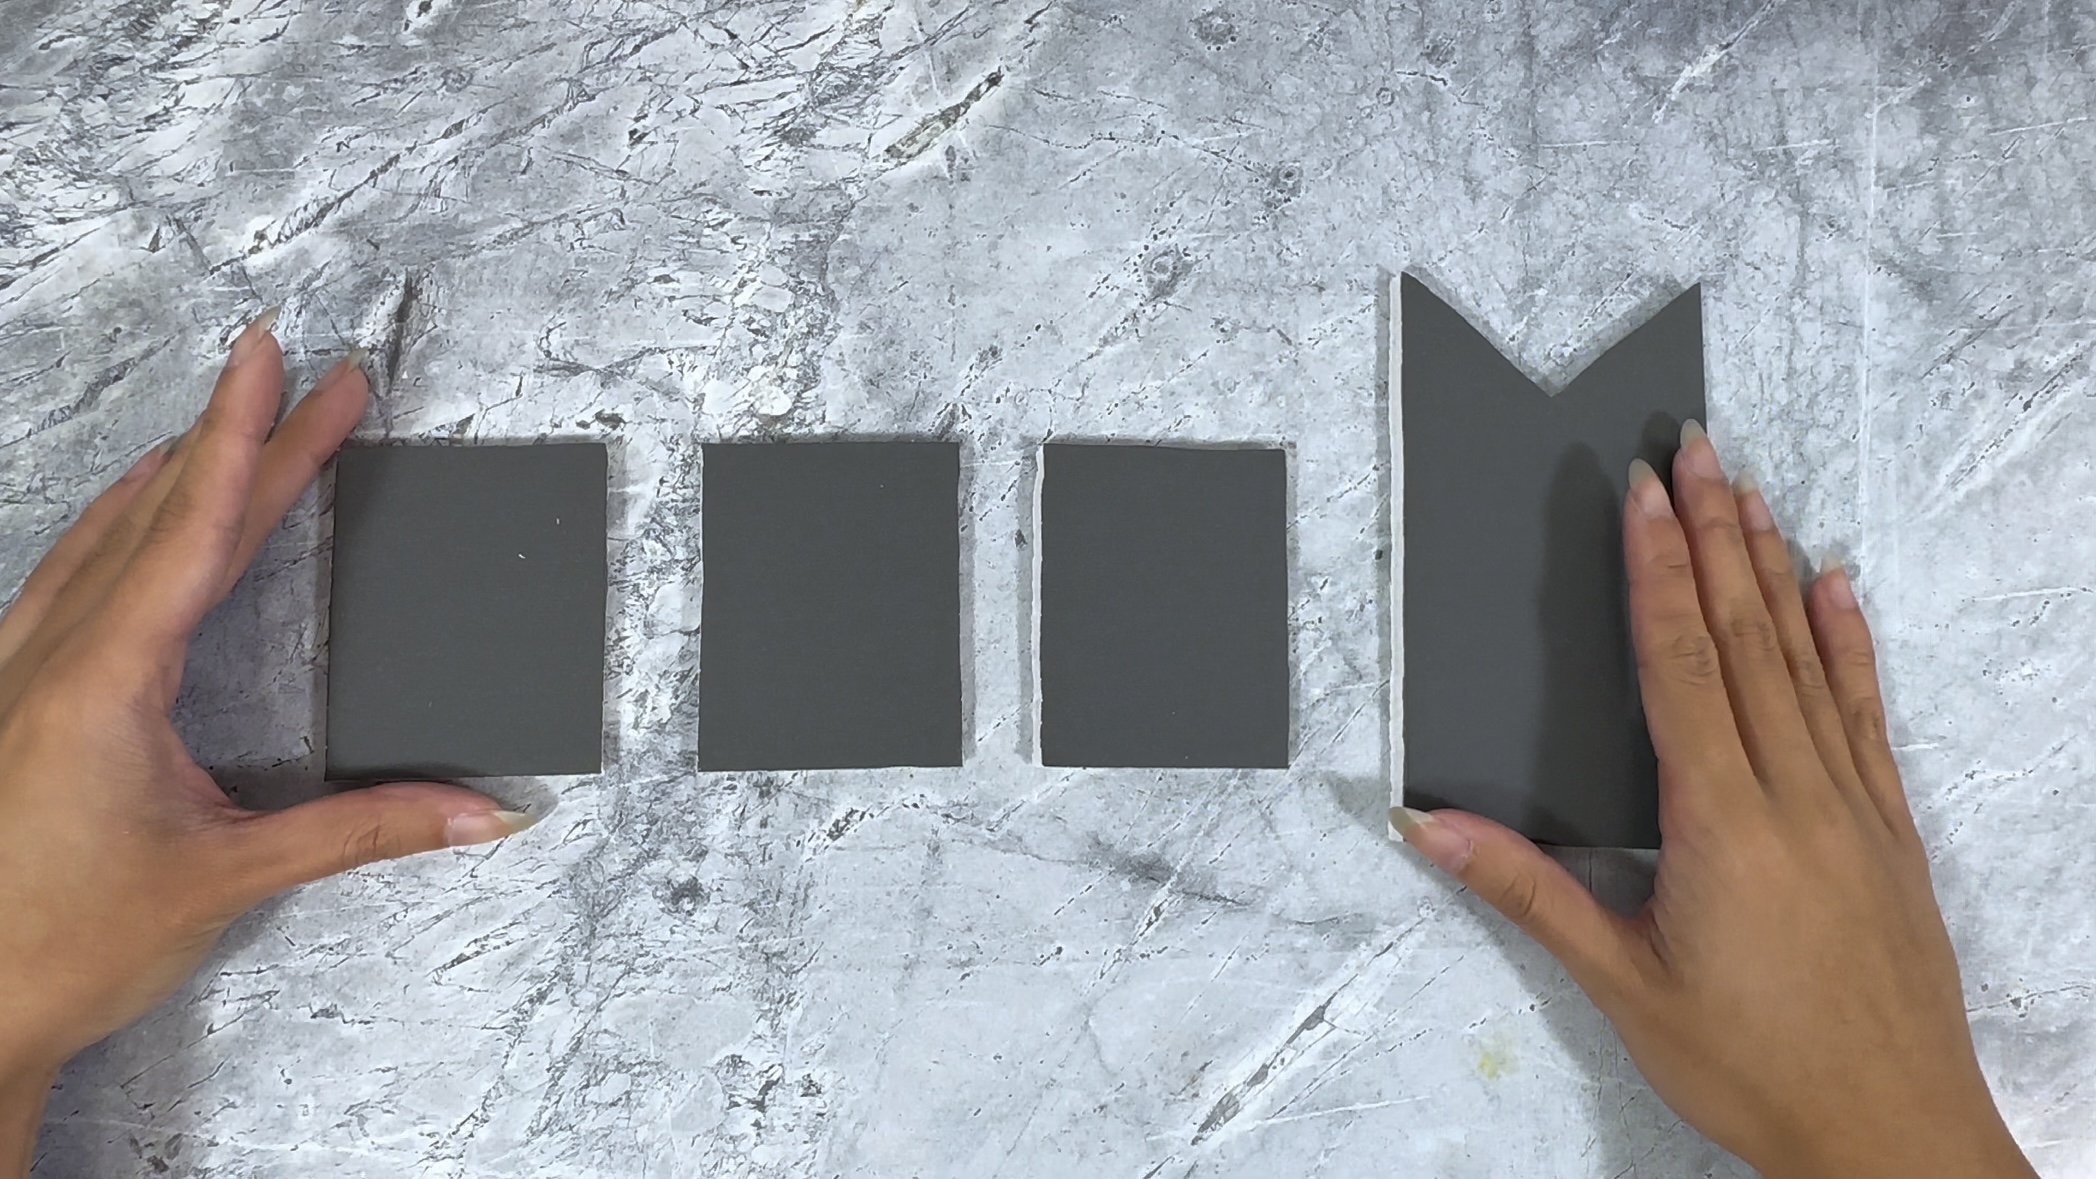
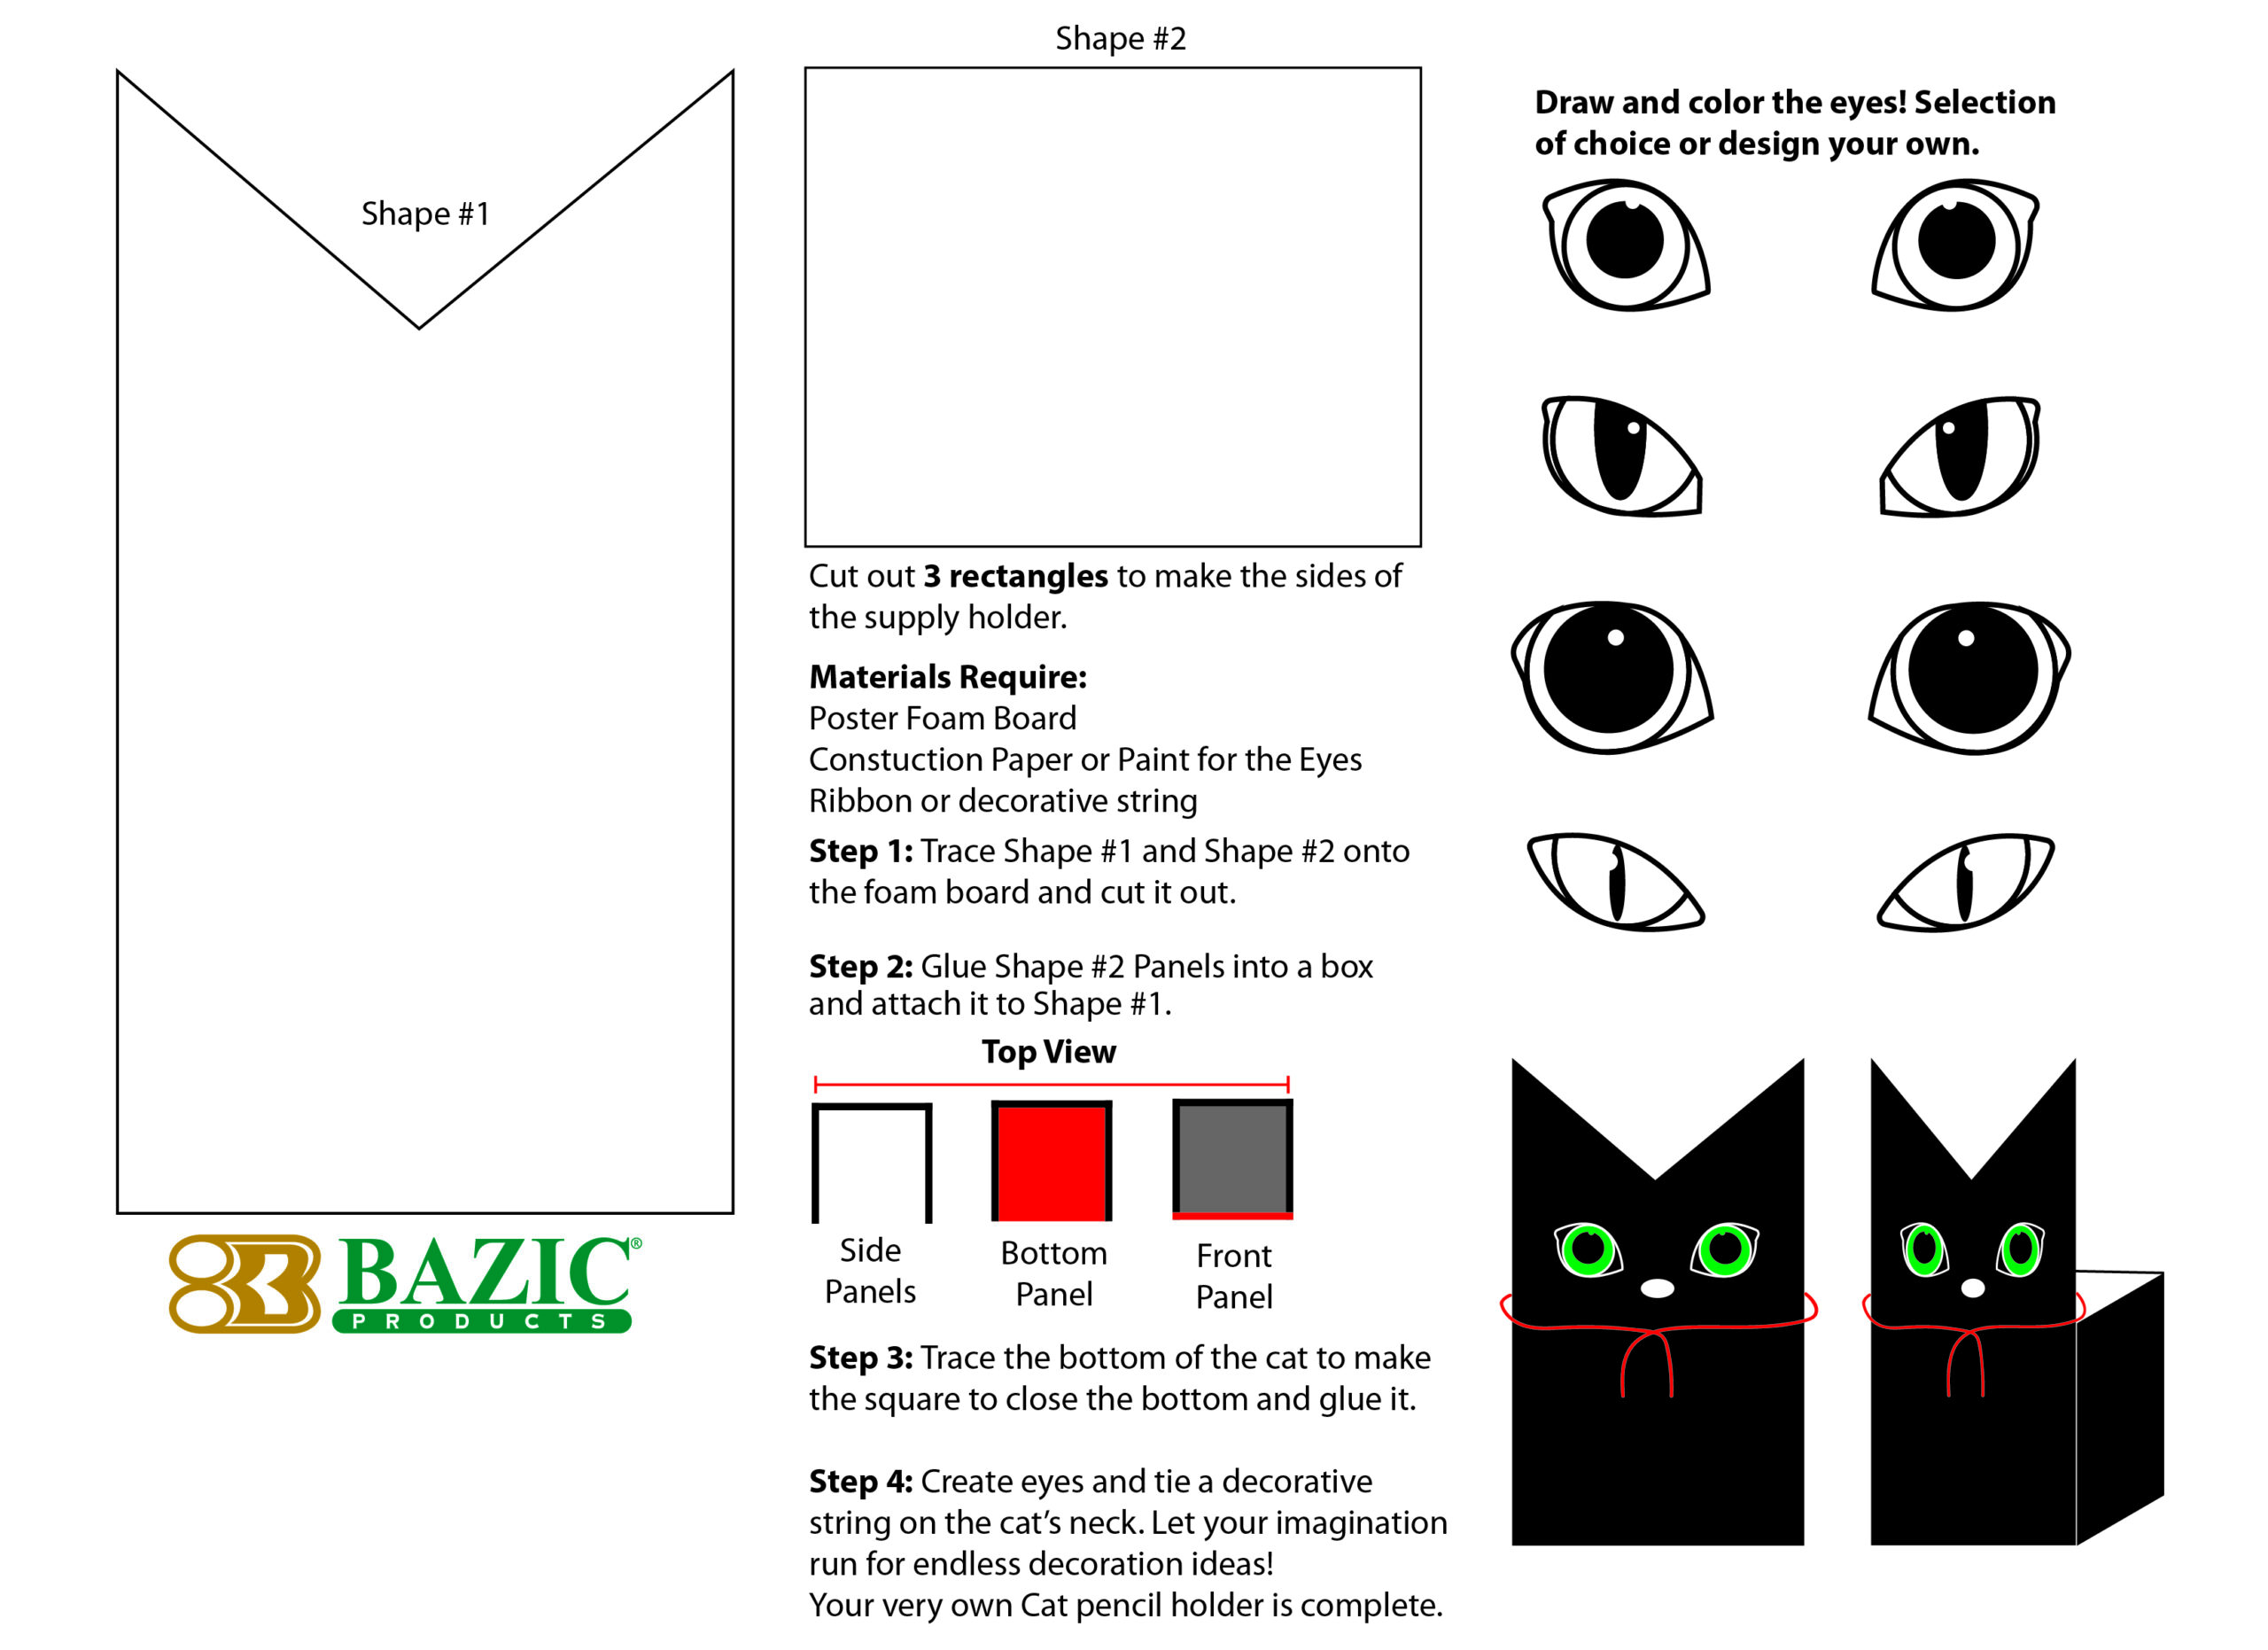
Step 2: Cut out Shape #1 and Shape #2 from template
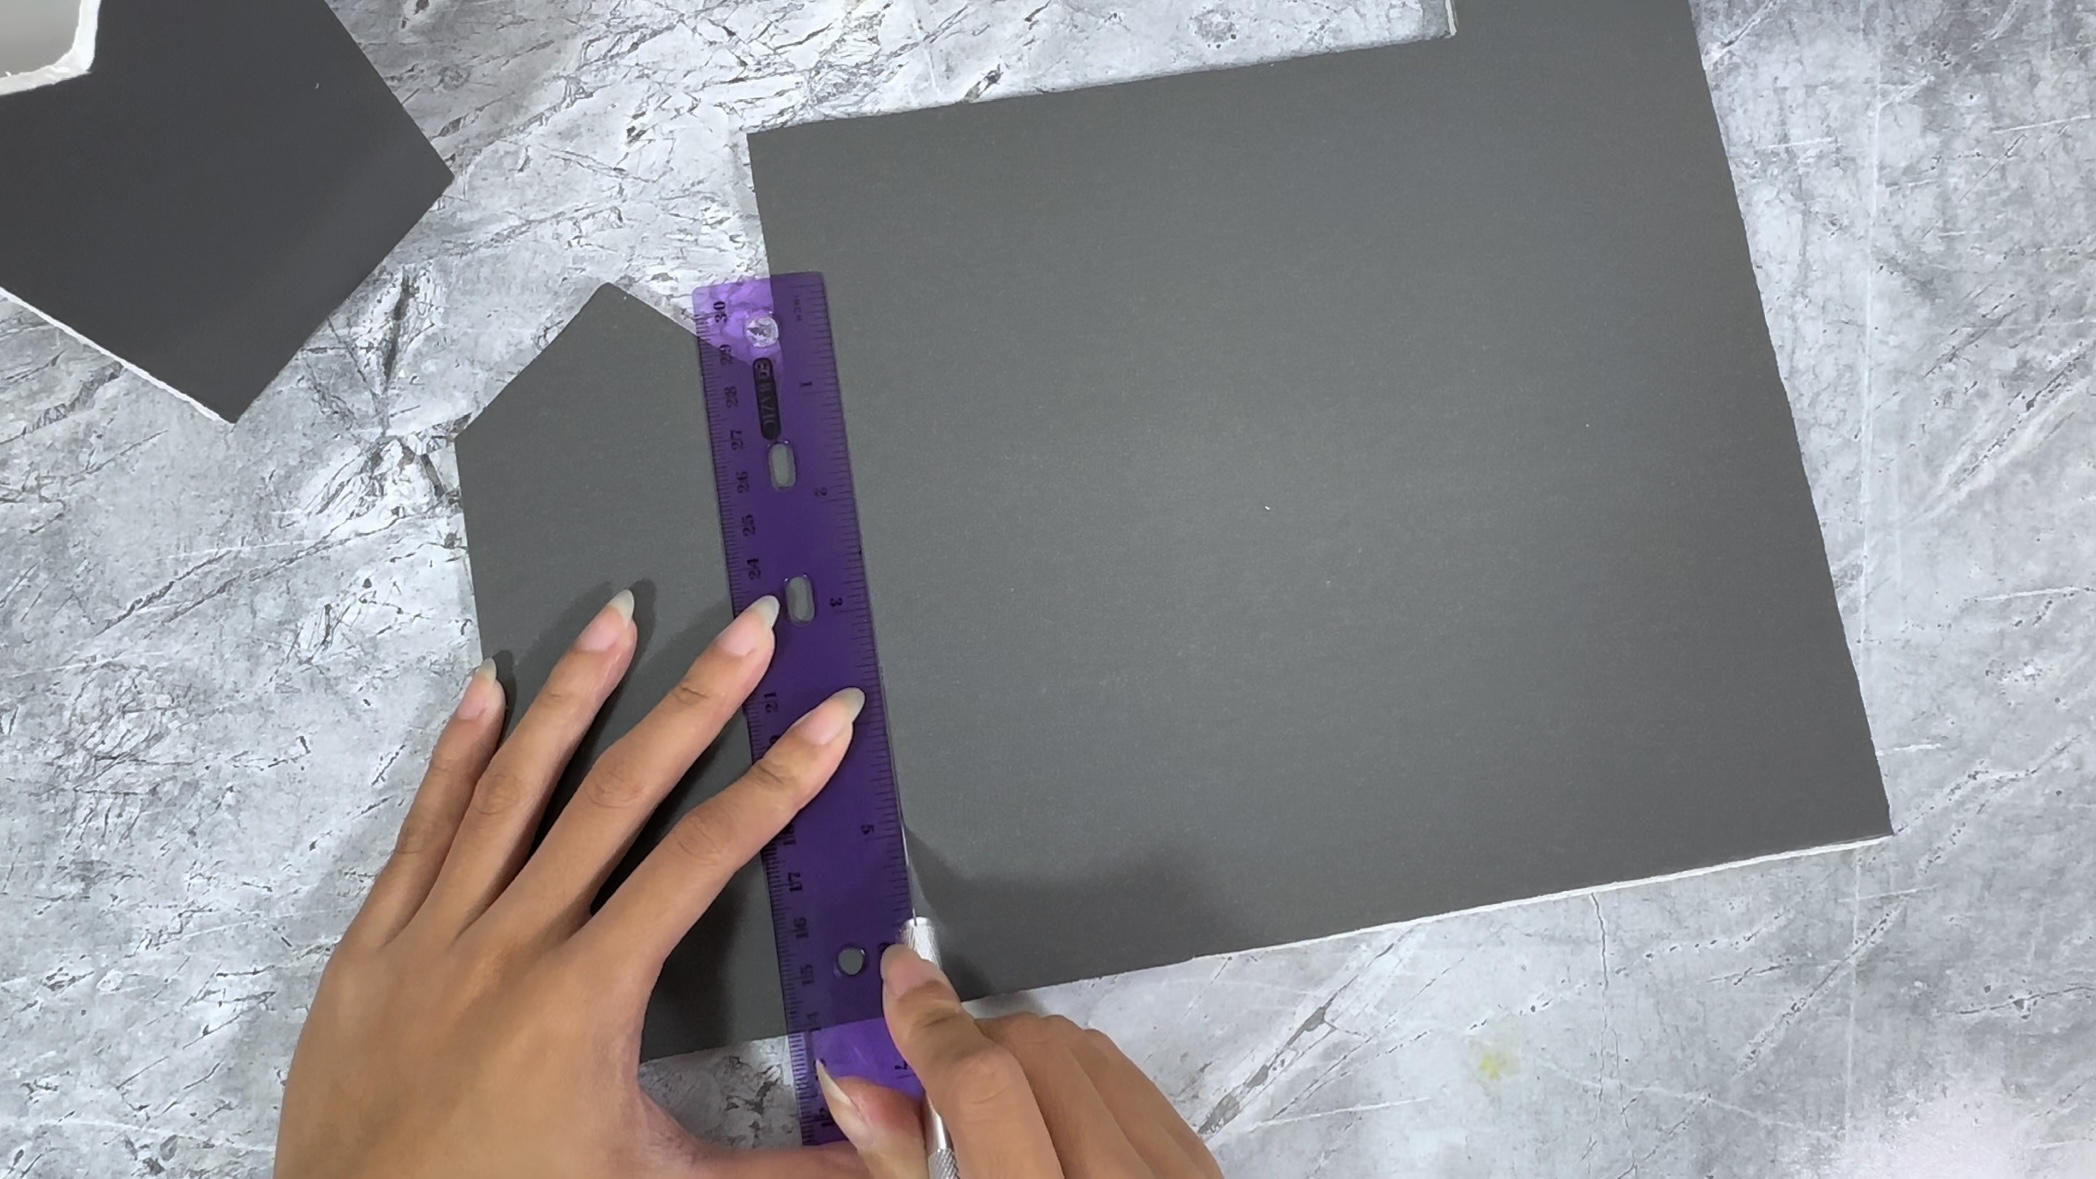
Step 3: Trace template to foam board - (1) Shape #1 and (3) Shape #2
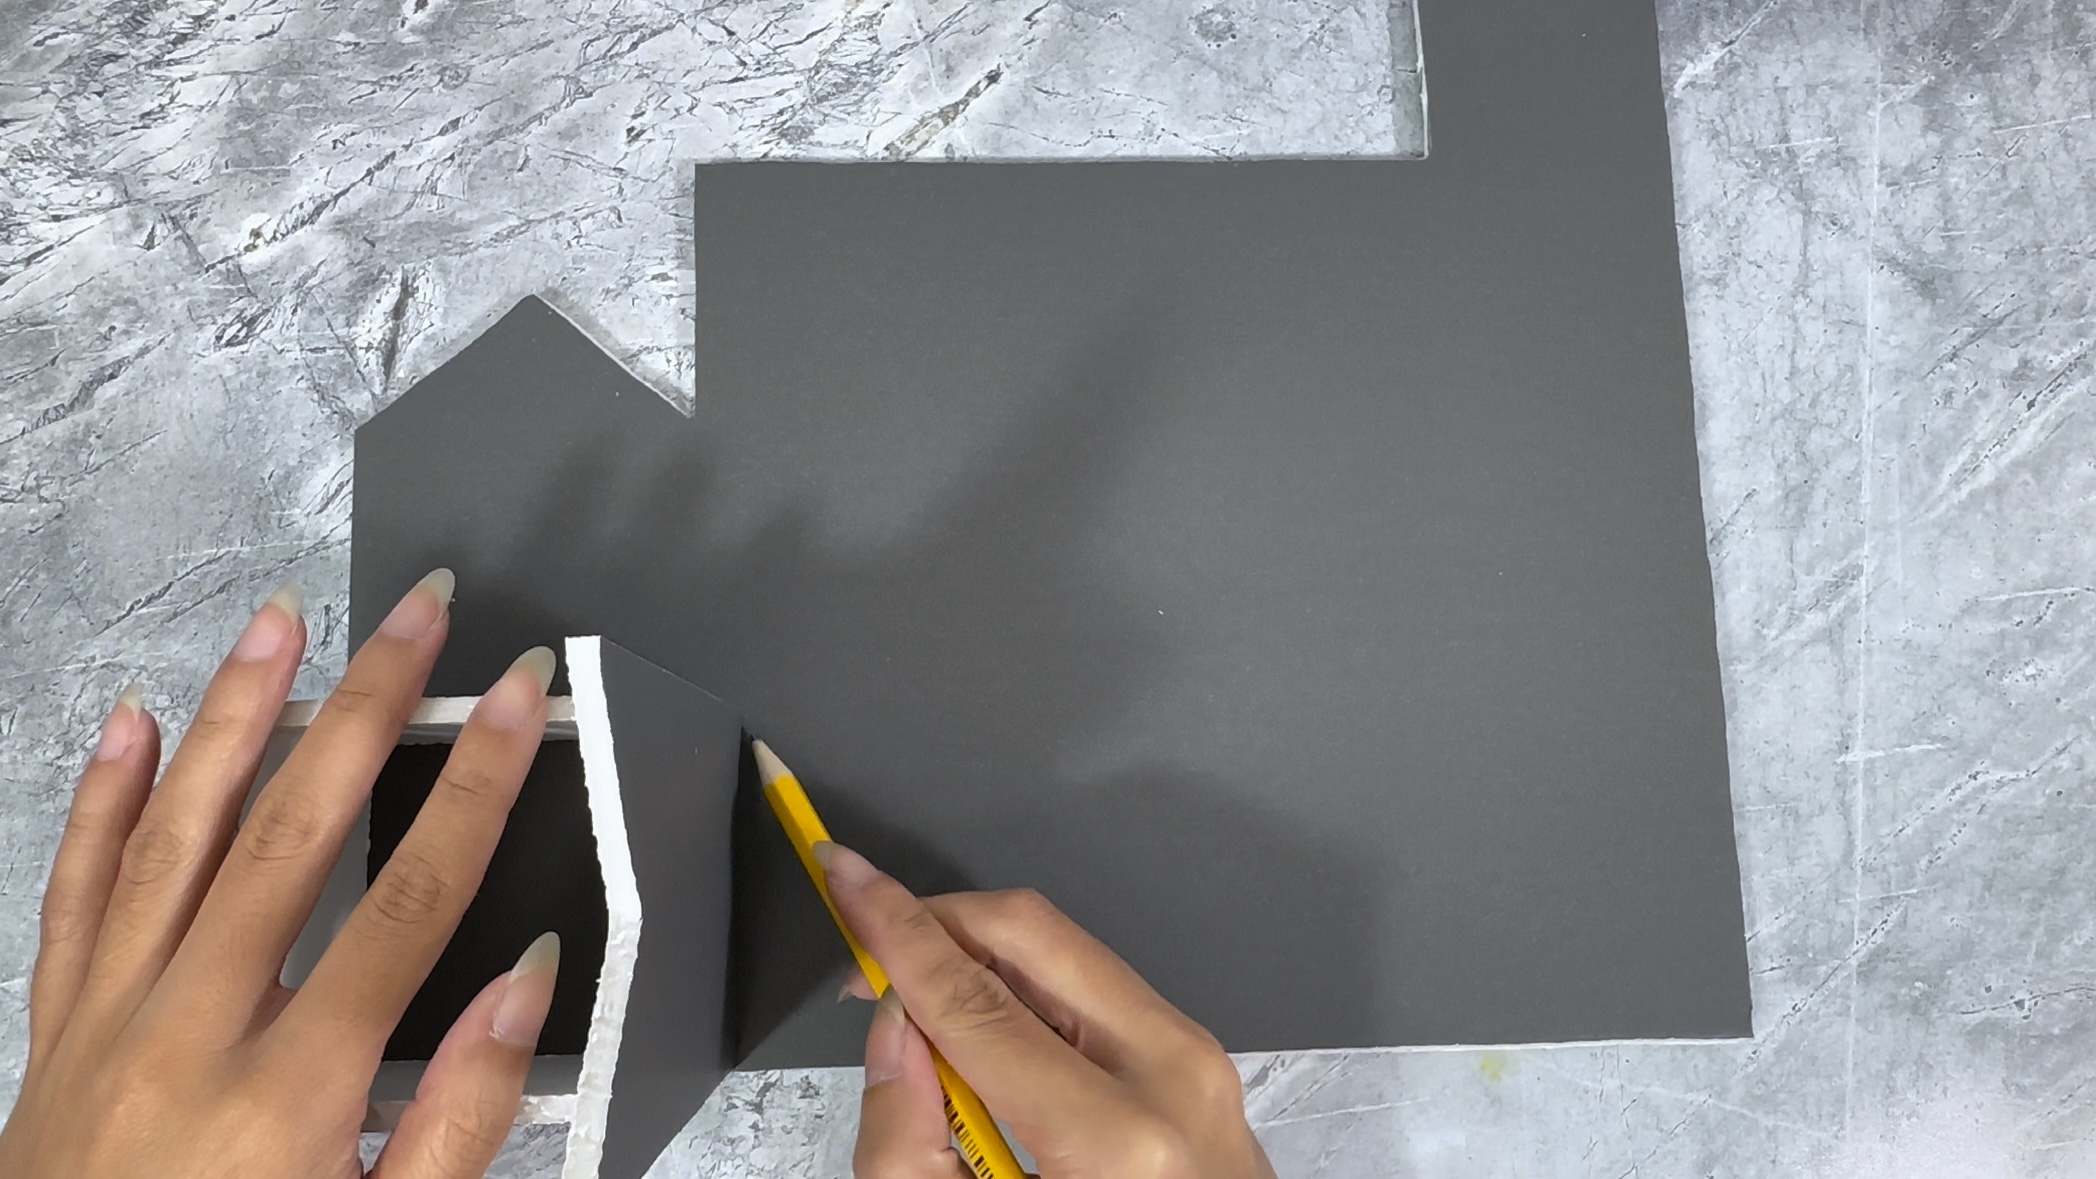
Step 4: Cut out with precision knife - please have an adult do this
Step 5: Glue the (3) Shape #2 to the sides and back of Shape #1
Step 6: Let glue set
Step 7: Once dry, trace the bottom of the box to foam board and cut out
Step 8: Glue bottom part, let dry
Step 9: Pick out a pair of cat eyes, color it, and cut out
Step 10: Glue cat eyes to the front, and draw a nose and whiskers
Step 11: Add ribbon / decorative string, and enjoy!
Check out our last DIY craft here.


